
How to Easily Handle Your Garage Door Opener Installation
- COMMERCIAL GARAGE DOOR REPAIR
- GARAGE DOOR OPENER INSTALLATION
- GARAGE DOOR SPRING REPAIR
- SAME-DAY GARAGE DOOR REPAIR
- CUSTOM GARAGE DOOR
- GARAGE DOOR OPENER REPAIR
- GARAGE DOOR TRACK REPAIR
- GARAGE DOOR CABLE REPAIR
- GARAGE DOOR PANEL REPAIR
- LOCAL GARAGE DOOR REPAIR
- GARAGE DOOR REPLACEMENT
- NOISY GARAGE DOOR FIX
- GATE REPAIR
- GARAGE DOOR INSTALLATION
- GARAGE DOOR SECTION REPLACEMENT
- OVERHEAD GARAGE DOOR REPAIR
How to Easily Handle Your Garage Door Opener Installation
Installing a garage door opener might sound like a challenging project. But with the right tools, guidance, and a bit of patience, garage door opener installation is something you can do yourself without calling for professional help. This blog will break the process into simple, practical steps so you can install your garage door opener with confidence and ease.
The Basics of Garage Door Opener Installation
Before you start, make sure you have the proper tools and equipment ready. Installing a opener requires careful attention to detail and the right setup. Here’s how to get started.
What You’ll Need
Before you roll up your sleeves, gather these essential tools and materials for your installation project:
- A garage door opener kit
- Screwdrivers (both flathead and Phillips)
- A power drill with bits
- A wrench set
- Measuring tape
- A sturdy ladder
- Safety goggles and gloves
Having these on hand will ensure a smooth and interruption-free process.
Check Compatibility
Not all garage door openers fit every type of garage door, so make sure the one you’ve purchased is the right match for your door’s size and weight. The user manual will typically list these details for reference.
Step-by-Step Guide to Installing Your Opener
Follow these steps for an efficient and hassle-free installation.
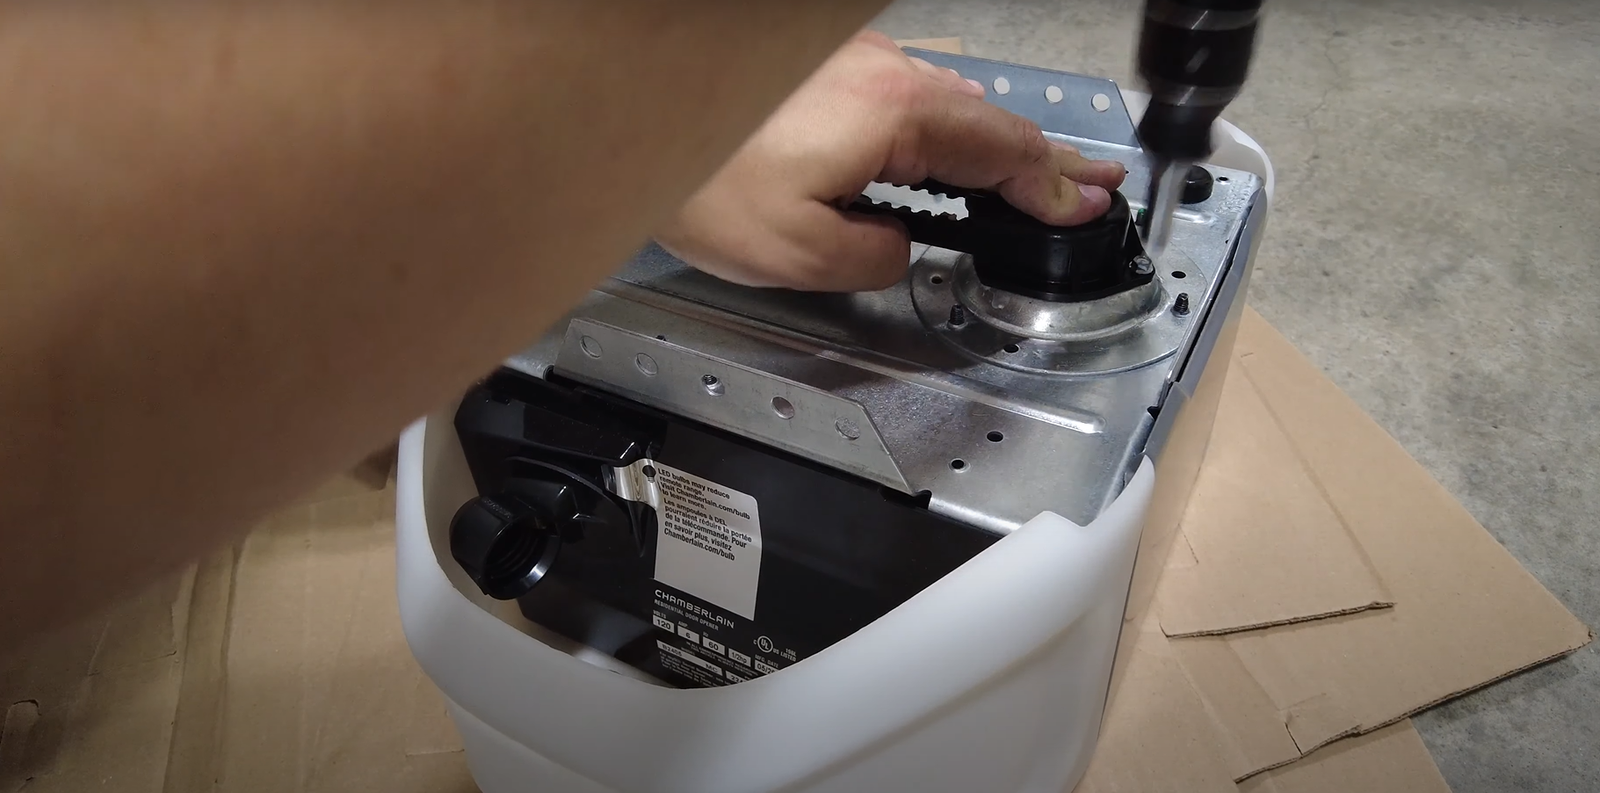
Step 1: Assemble the Garage Door Opener
Most garage door opener kits come with several parts, like a rail, motor, and trolley. Start by assembling these components according to the instructions in the manual. This is typically done on the ground, so it’s easy to see how the parts fit together.
Step 2: Install the Rail and Motor Unit
Once the opener is assembled, attach the rail to the motor unit and mount it on the ceiling of your garage. Use a measuring tape to align everything properly, ensuring the rail is level and centered above the garage door.
Step 3: Attach the Wall Controls and Sensors
Most modern garage door openers come with safety sensors and wall control panels. Fix the sensors on either side of the garage door near the floor. Then, install the wall control panel at an easily accessible height, typically close to your garage entrance.
Step 4: Connect the Garage Door Opener to the Door
Now, attach the trolley arm of the opener to the garage door. This arm connects the opener to the door and is essential for opening and closing it smoothly.
Tips and Tricks for a Perfect Installation
- Take Safety Seriously: Always wear goggles, gloves, and secure loose clothing before starting the installation.
- Follow the Manual: The user manual is your best friend during installation. Follow it step by step, as details can vary slightly between brands and models.
- Test Before Finalizing: Never skip testing the opener after installation. Make sure the door opens and closes smoothly and that the safety sensors are working correctly.
Start Enjoying Your New Opener
Installing your own opener doesn’t have to be a complicated task. By preparing your tools, following the steps outlined above, and taking the time to double-check your work, you’ll have a reliable and functional opener in no time. Whether you’re a new homeowner or simply a DIY enthusiast, mastering this project can make your garage safer and more convenient. If you need assistance or professional advice, Reynoldsburg Garage Door Repair is here to help!
Looking for more tips on garage care and maintenance? Stay tuned for updates on our blog, where we cover everything a homeowner or garage enthusiast needs to know!